前言
本系列主要讲解UI-Router在angular2+中的应用,今天主讲在angular中初始化一个UI-Router并且建立一些简单的路由。
初始化Angular项目
1、安装angular/cli
npm install -g angular/cli
安装好后:ng --version
2、利用脚手架生成一个项目
ng new task
初始化项目成功后
执行:npm start 或者 ng serve
@uirouter/angular
安装
npm install --save @uirouter/angular
或者:
yarn add @uirouter/angular
创建两个组件hello 和 about
执行命令:
ng g c hello & ng g c about
创建router
创建如下文件以及文件夹:/src/app/router/index.ts
import { HelloComponent } from "../hello/hello.component";
import { AboutComponent } from "../about/about.component";

// 以下是两个最简单的路由对象
const helloState = {
  name: 'hello',
  url: '/hello',
  component: HelloComponent
};

const aboutState = {
  name: 'about',
  url: '/about',
  component: AboutComponent
};

//导出路由数组
export const allStates = [
  helloState,
  aboutState
];
app.module.ts中添加路由module以及创建好的路由
path:/src/app/app.module.ts
import { BrowserModule } from '@angular/platform-browser';
import { NgModule } from '@angular/core';

import { AppComponent } from './app.component';
import {UIRouterModule} from "@uirouter/angular";// 引入路由module
import { allStates } from "./router";
import { HelloComponent } from './hello/hello.component';
import { AboutComponent } from './about/about.component';

@NgModule({
  declarations: [
    AppComponent,
    HelloComponent,
    AboutComponent
  ],
  imports: [
    BrowserModule,
    UIRouterModule.forRoot({ states: allStates, useHash: true }) // 引入
  ],
  providers: [],
  bootstrap: [AppComponent]
})
export class AppModule { }
编写入口界面
/src/app/app.component.html
<a uiSref="hello" uiSrefActive="active">Hello</a>
<a uiSref="about" uiSrefActive="active">About</a>

<ui-view></ui-view> // 路由视口
/src/app/app.component.css
.active { color: red; font-weight: bold; } // 当路由处于激活状态的样式
a{margin:20px;}
效果
代码都编写完成了,现在来看下效果: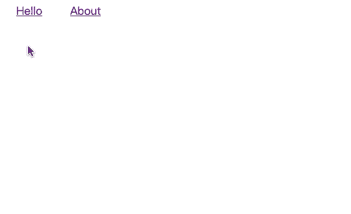
小结
以上就简单的简介了如何在一个angular2+项目中配合ui-router来使用。接下会更加深入的讲解ui-router的一些新特性。